Detailed Aluminium Casting Demonstration
STEP 1
Based on the 3D file, a mould is printed, polished in preparation for silicone mould, which is needed for complex sculpture.
STEP 2
We pour wax into ready silicone mould.
STEP 3
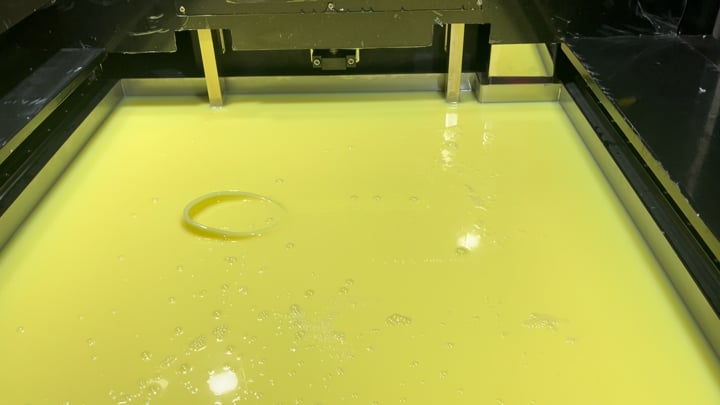
We prepare silicone or wax moulds which we sand before casting.
STEP 4
After casting, we carefully polish the sculpture, identifying and correcting any imperfections before applying final finishing.
STEP 5
Detailed pictures and videos through out the process for your approval before packing.
Detailed Camphor Wood Crafting Demonstration
STEP 1
We cut the initial shape needed before CNC cutting.
STEP 2
Based on the 3D file, we place the cut wood blocks on the CNC bed to shape the sculpture to approximately 65-95% completion.
STEP 3
We begin manually crafting all the intricate details of the wood sculpture.
STEP 4
We manually polish it thoroughly. No further changes or adjustments can be made after this stage.
STEP 5
We varnish and paint the wood sculpture, allowing it to dry before packing.
Detailed Marble Sculpturing Demonstration
STEP 1
Submit your sculpture or mould's 3D scan in .obj or .stl format.
STEP 2
Choose from our diverse range of materials, including premium marble, Ebony and other high-quality options.
STEP 3
Our advanced 4-axis/5-axis CNC machines will shape approximately 65%-95% of the sculptures.
STEP 4
Our skilled artisans will complete the finer details and apply the finishing touches manually.
STEP 5
Detailed pictures and videos through out the process for your approval before packing.
Exquisite Gold Artistry
In this video, we invite you to experience the elegance of our finest handcrafted gold creations. Watch as our expert artisan meticulously transforms raw gold into exquisite works of art. From intricate designs to flawless finishes, witness the artistry and skill that define our gold handcrafting. Enjoy the craftsmanship!
Detailed 3D Printing and Nano-Spray Demonstration
STEP 1
Confirm the size and details of the sculpture based on the provided 3D file.
STEP 2
3D-print the mould in parts (for large sculptures) using resin. Add a layer of fiberglass cloth inside to harden it for outdoor use.
STEP 3
Assemble the 3D-printed sculpture and perform detailed polishing. Apply an epoxy primer to the polished resin, followed by black paint on top of it.
STEP 4
Apply the nano spray solution to achieve the mirrored silver finish, and seal the sculpture with final varnish.
STEP 5
Carefully pack the sculpture to ensure safe international freight.